Setting Up Facebook
To post to Facebook you need to create a Facebook app. This tutorial will walk you through all of the required steps.
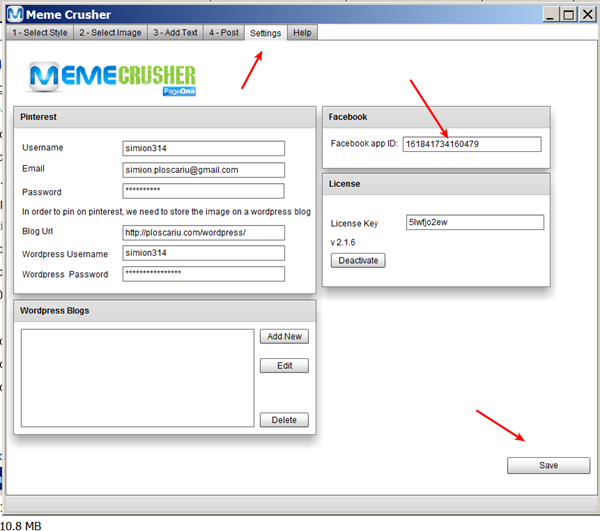
Once you have created the app you will need the ID of the app, which is added directly into the ‘Settings’ section in MemeCrusher.
Note: When selecting a name for your app do not use the word ‘Facebook’ in it. This is a trademarked term.
Creating a Facebook App
Step 1: Go to https://developers.facebook.com/ Sign in with your Facebook username and password.
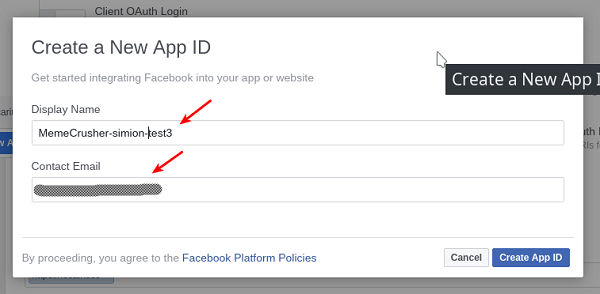
Step 2: To create a new Facebook app (follow the images below)

Type in the app name (you can give it any name you like, however, we suggest using MemeCrusher) and create the App ID.
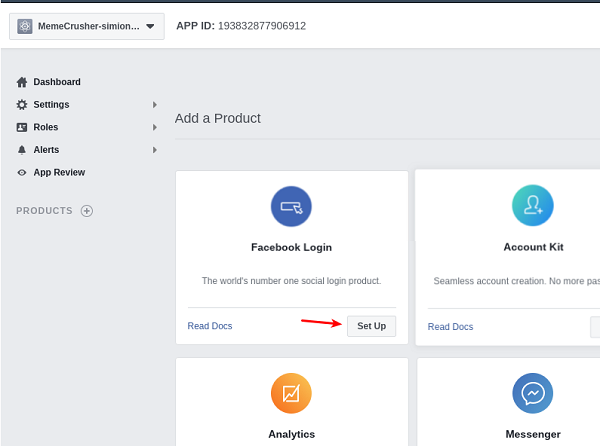
Add Product: Select Facebook Login
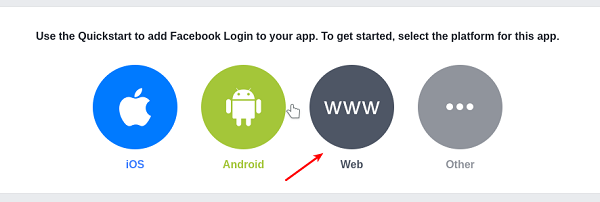
Select the Web (WWW) option
Follow the steps. In the first step enter https://localhost
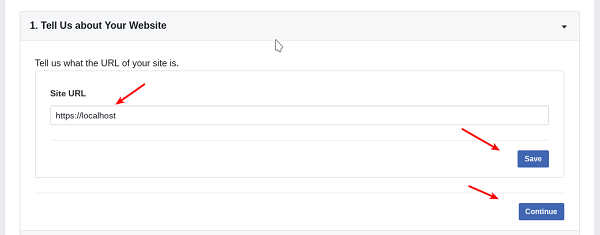
Click ‘Next’ on all the other steps, we do not need the code FB is showing here
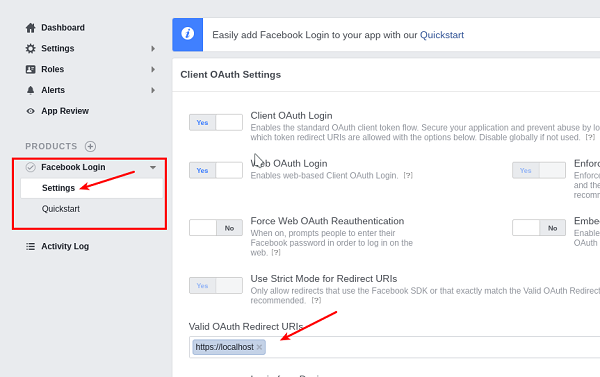
The next step is very important: Click on the Settings tab found on the left sidebar under ‘Facebook Login’.
Find the ‘Valid OAuth Redirect URIs’ field and enter this exact URL: https://localhost
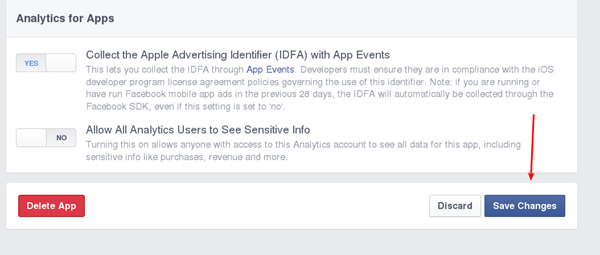
Press the “Save changes” at the bottom of the page
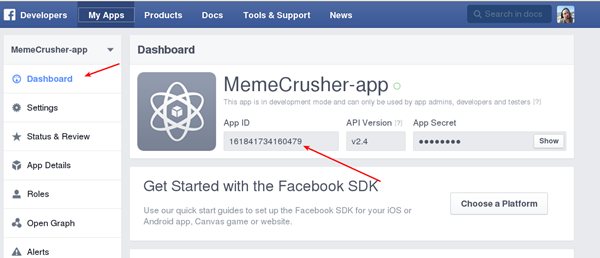
Click on the Dashboard tab and get the app id
Scroll down and save the changes
Step 3: In MemeCrusher go to the ‘Settings’ section and paste the app ID and click ‘Save’
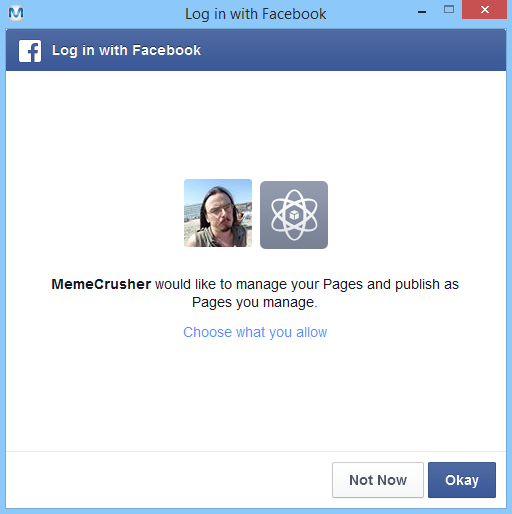
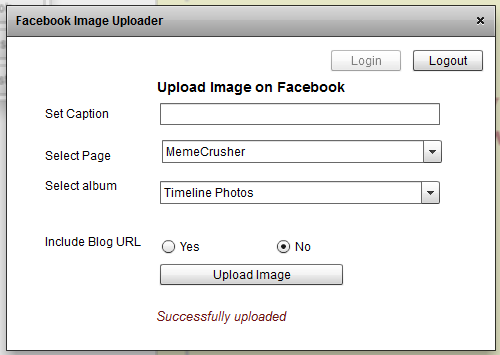
Step 4: Go to ‘Post’ and click on ‘Login’ in the popup window.
Step 5: Ignore the ‘Submit for Login Review’ warning box and click on ‘Okay’.
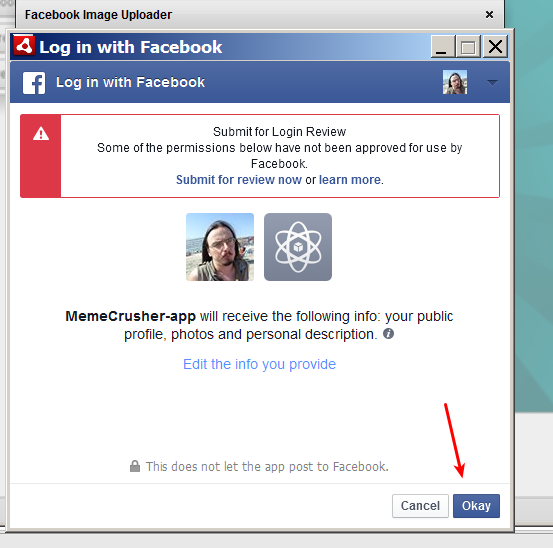
Step 6: A second pop up will appear – again click on ‘Okay’. You are now done and your app is ready to start posting to Facebook.